

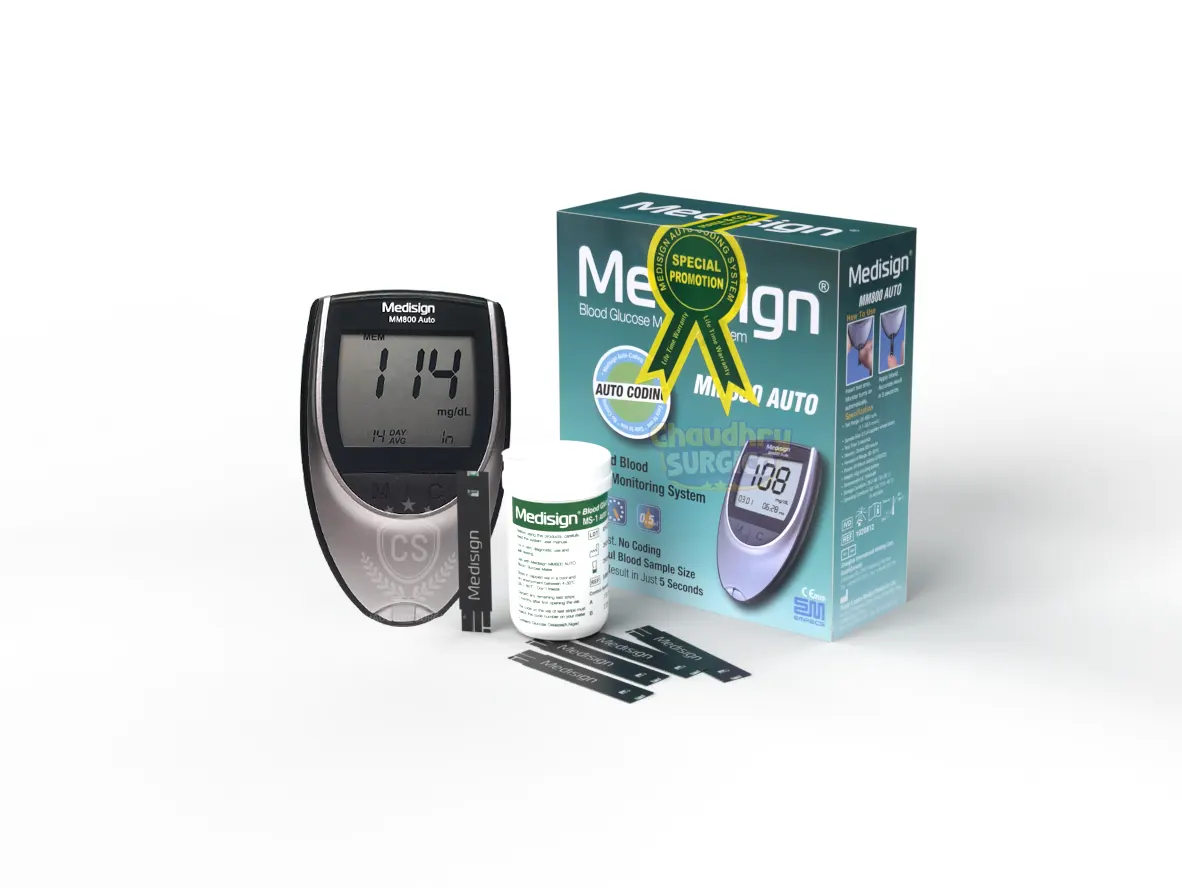
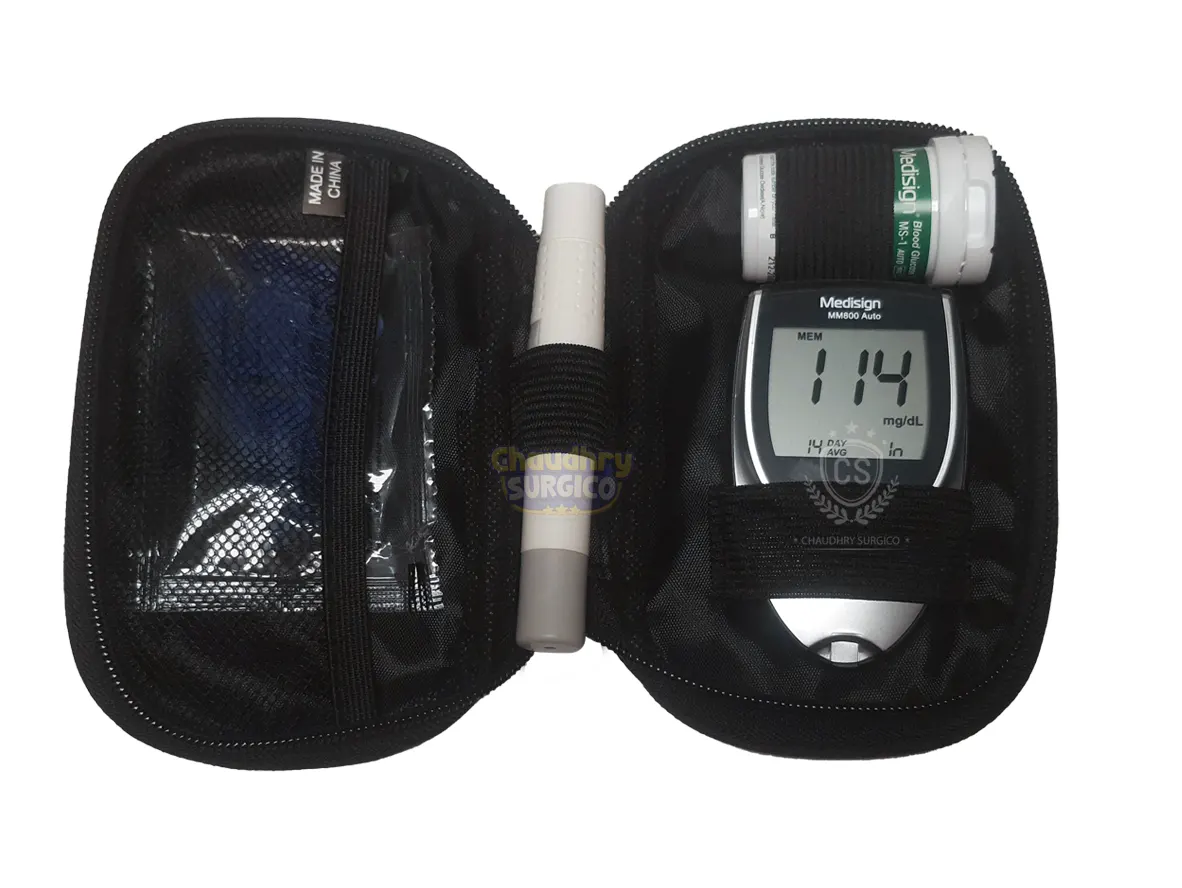
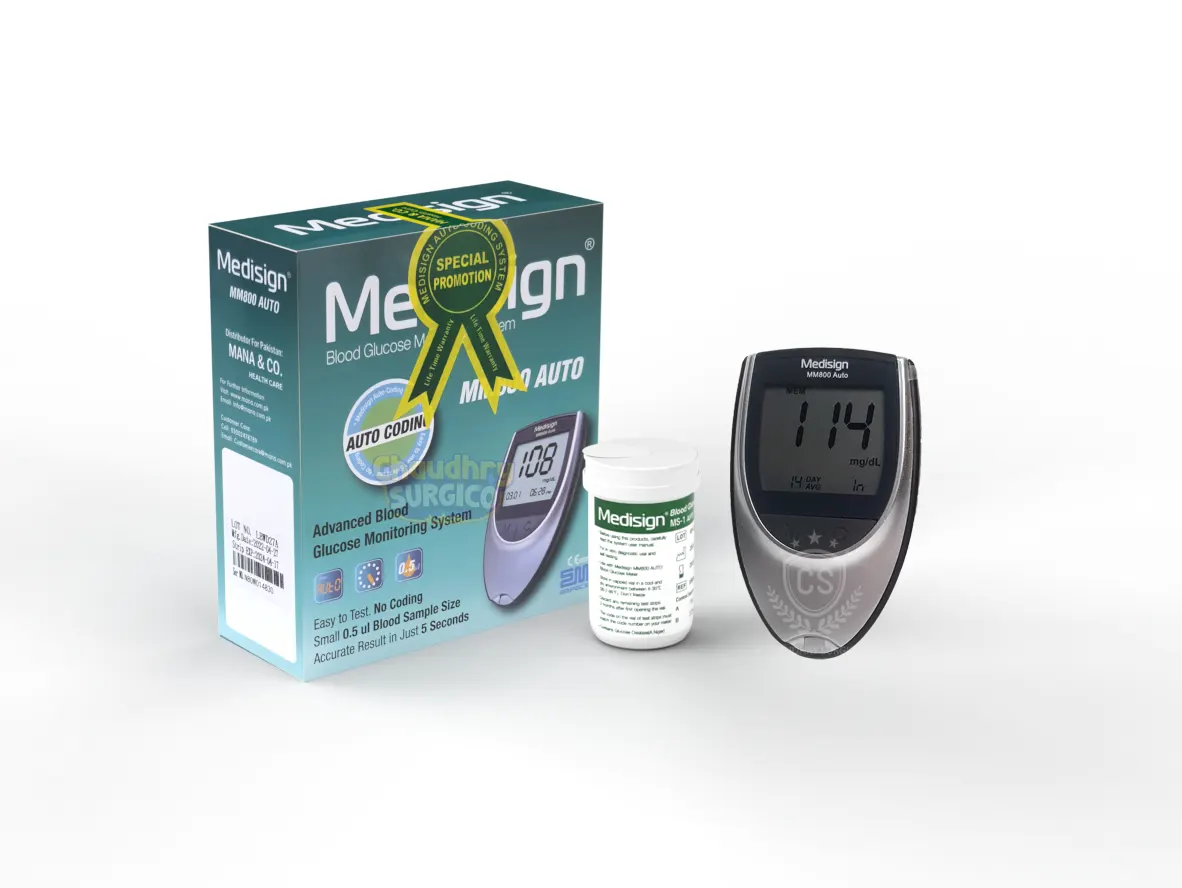
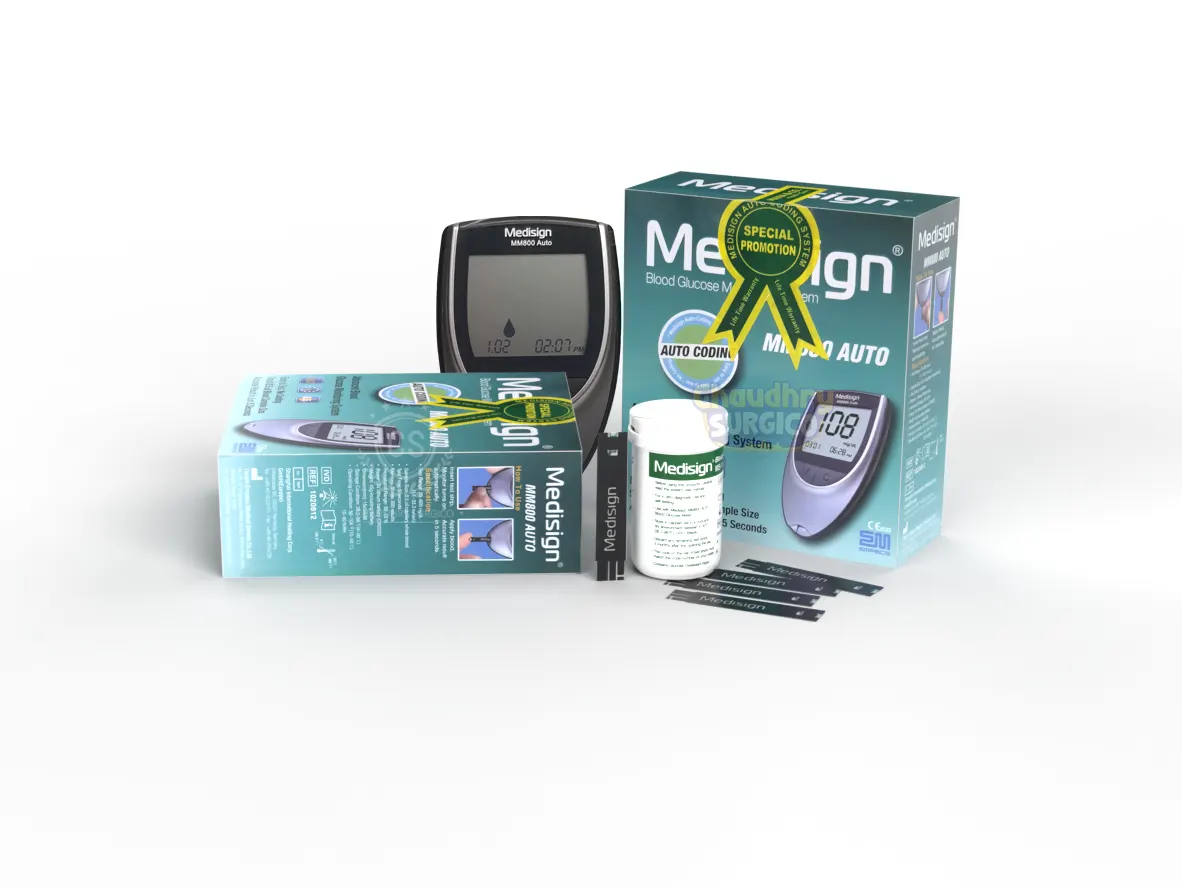


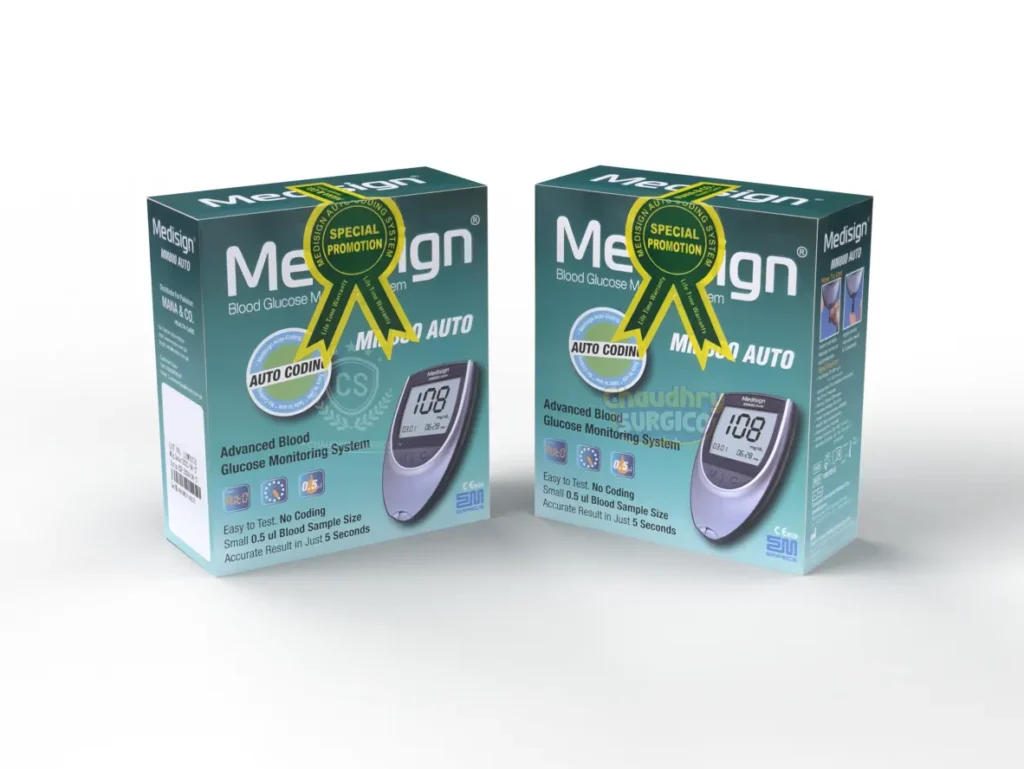
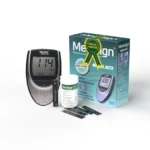
Description
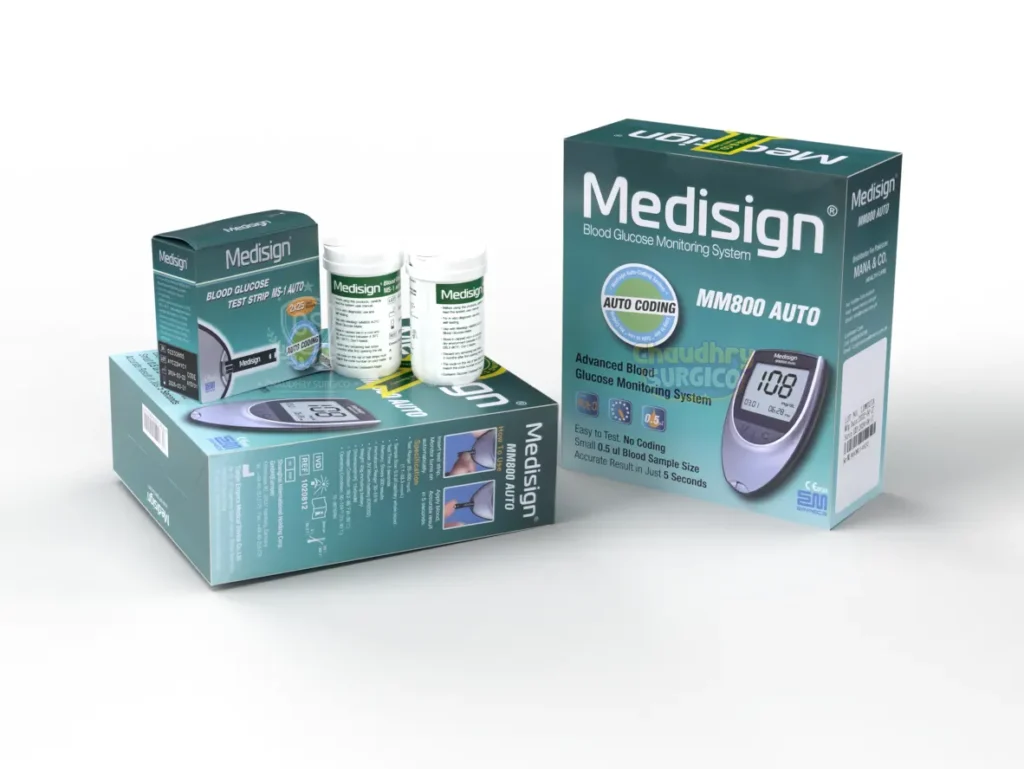
How to use the Glucometer Medisign?
By following these steps, you can accurately measure your blood glucose levels using the Medisign MM800 Auto Blood Glucose Monitoring System.

Total Time Needed: 5 minutes
Required Tools:
- Glucometer Medisign.
- Lancet gun.
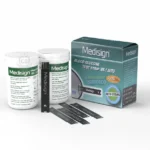
- Medisign Strips.
Things Needed?
- Lancing Device.
- Lancets
- Strips Medisign
Step by Step Guide to how to check the Blood sugar level using Medisign Glucometer
Step 1 : Prepare Your Equipment:
- Remove the cap from the test strip container.
- Insert a new lancet into the lancing device.

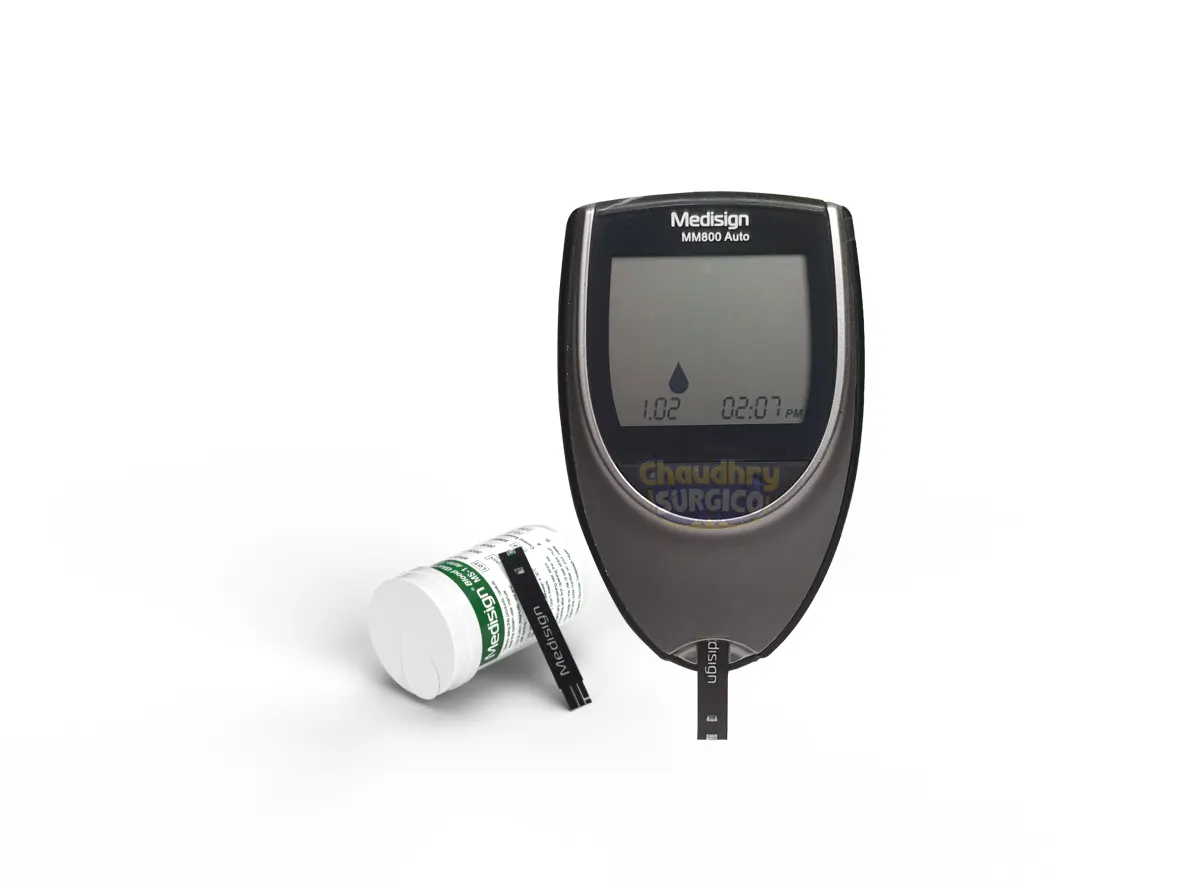
Step 2 : Insert the Test Strip:
- Turn on the meter by inserting a test strip into the designated slot.
- Ensure the test strip code matches the code on the vial.

Step 3 : Adjust Lancing Device
- Select the appropriate puncture depth setting on the lancing device.

Step 4 : Obtain a Blood Sample
- Clean your finger with an alcohol swab and allow it to dry completely.
- Hold the lancing device firmly against your finger and press the release button.
- Gently squeeze your finger to promote blood flow.

Step 5: Apply Blood to Test Strip:
- Touch the blood drop to the edge of the test strip's yellow area.
- Avoid touching the test strip with your finger.

Step 6 : Read the Result:
- Wait for the meter to process the blood sample.
- The blood glucose result will be displayed on the screen after approximately 5 seconds.

Midnight Hustle –
Simple, effective, and beautifully executed.
Abaya Abaya –
Good product, working fine.
But warranty card is missing, as I already asked vendor to sent warranty card while placing order
Rayyan –
Excellent product. works properly. honest seller sent same as shown. recommend to buy herefrom. jazakallah khaira♥️
Augus Khan –
I am very Satisfied with the Glucometer 100% Original product along with all accessories and warranty card.
At Lower Price than the market and The Seller also sent a free Gift of Lancets and Swabs That was very kind of him..
The Packaging of the parcel was also outstanding…
Thank You so Much seller
Nanaya Lofi –
Meter use kerty huwy at lest 2 month hu gay han results perfect .
Product design bhut acha . Color amazing.
amanda Lofi –
I prefer medisign over accu-check because medisign strips easily available any where .
Rehman –
Old costumer never have any issue with receiving product .
Amazing service by this website .
Tayyab Malang –
Ma ak village ma rehta hu mujy online ka kuch ni pata first time order kea online for my father . Or 3 din ma mujy mil gai .Shukariya